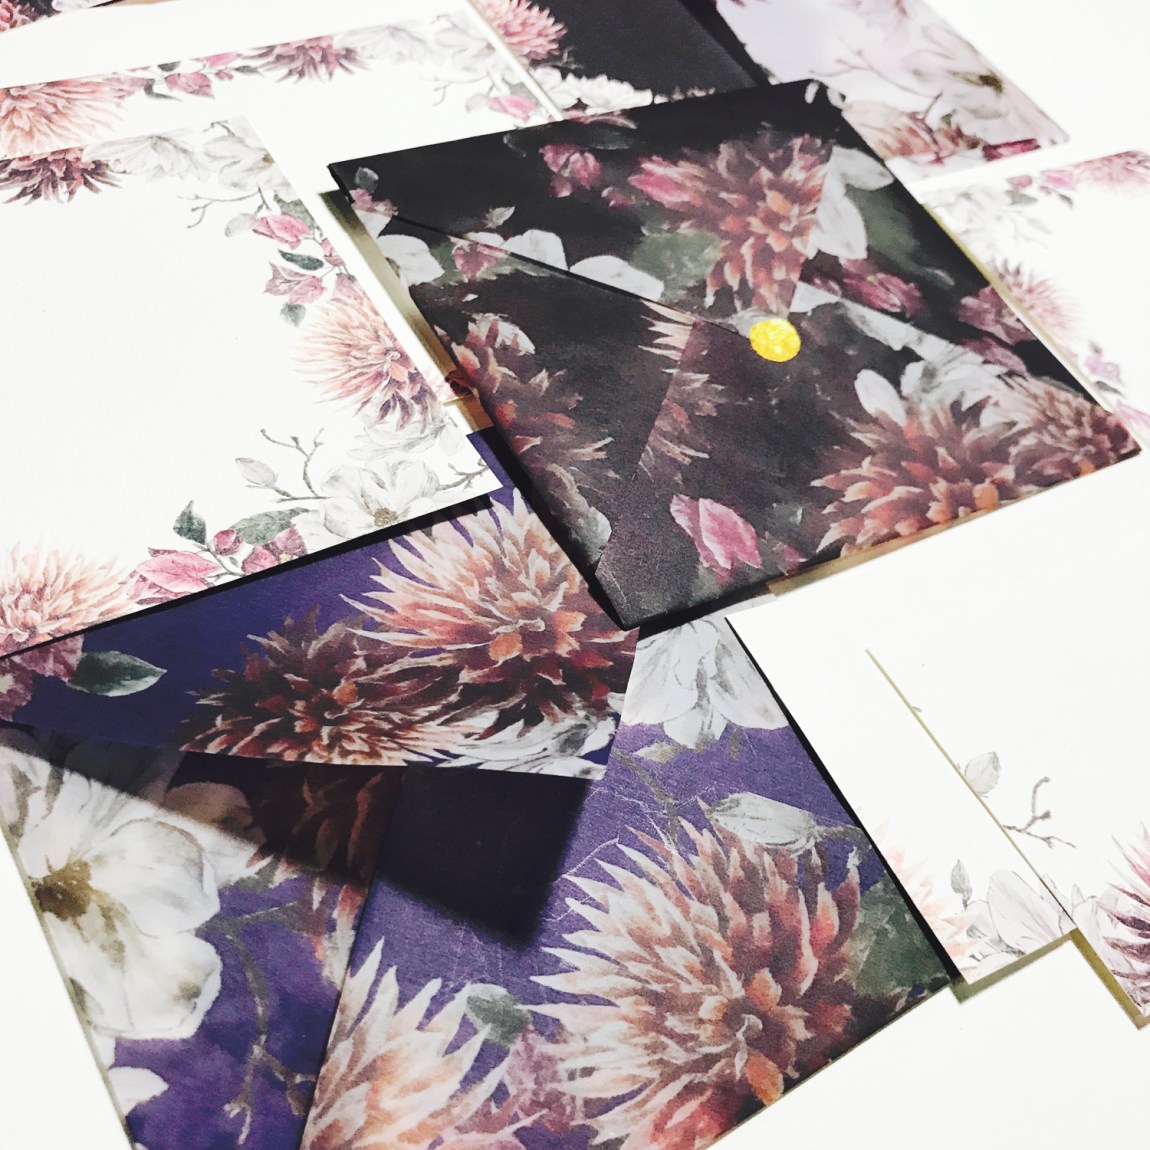
The best (and most productive) way I amuse myself while stuck in traffic, or when on a long flight, is play with patterns on my phone. Made these stationery sets this weekend just by using photo editing apps! No computers needed for this DIY!

Took photos of my recent floral artworks: Bougainvillea, Dahlia, and Magnolia.

Edited the brightness/exposure/contrast. A tip for editing photos: you’ll know when the brightness is just right when the color of the paper (white) is just right–not bluish/yellowish/reddish/greenish.
I edited, designe,m and sent files to printer all from the phone. Here are my go-to phone apps:
APP #1: MAGIC ERASER

Love this app because it makes erasing the background so easy. You just rub your finger back and forth the screen, and zoom in to get into the small corners. If you make a mistake, there’s a restore tool. I use the red mask to make it easier to see if I’ve erased all the white background already. Then I save it as PNG (transparent background). Did this for all 3 flowers.
APP #2: PICCOLLAGE

I’m sure there are lots of amazing collage apps there, but what I like about PicCollage is that you can choose the freestyle option. I created an all-over pattern for the envelope, and another one with just the border for the card design.
APP #3: CANON PRINT

I love that you don’t need a computer anymore–the Canon Pixma G4000 can print via wifi! My favorite thing about this printer is that it doesn’t use ink cartridges anymore, so you eliminate all that plastic waste. You simply refill the printer ink by color. A single CMYK refill can print up to 13,000 pages!
Another option would be to draw your design on a letter-sized sheet of paper, and then photocopy the artwork using the Copy/Scan function of the printer. You can check out the rest of the product details of the Pixma G4000 here.
Printed the designs on 92gsm vellum paper for the envelopes, and board stock for the cards. If you’re using lighter/thinner paper, you can stick the thinner sheet onto regular copy paper, so that it feeds easily into the printer.

After printing, I let the ink dry for a bit. Trimmed the paper to make rectangular and square envelopes!


Here’s the whole stationery set!

This would be a great gift idea for the holidays–you can even personalize the cards with the name of the recipient. 🙂 Happy crafting!
